
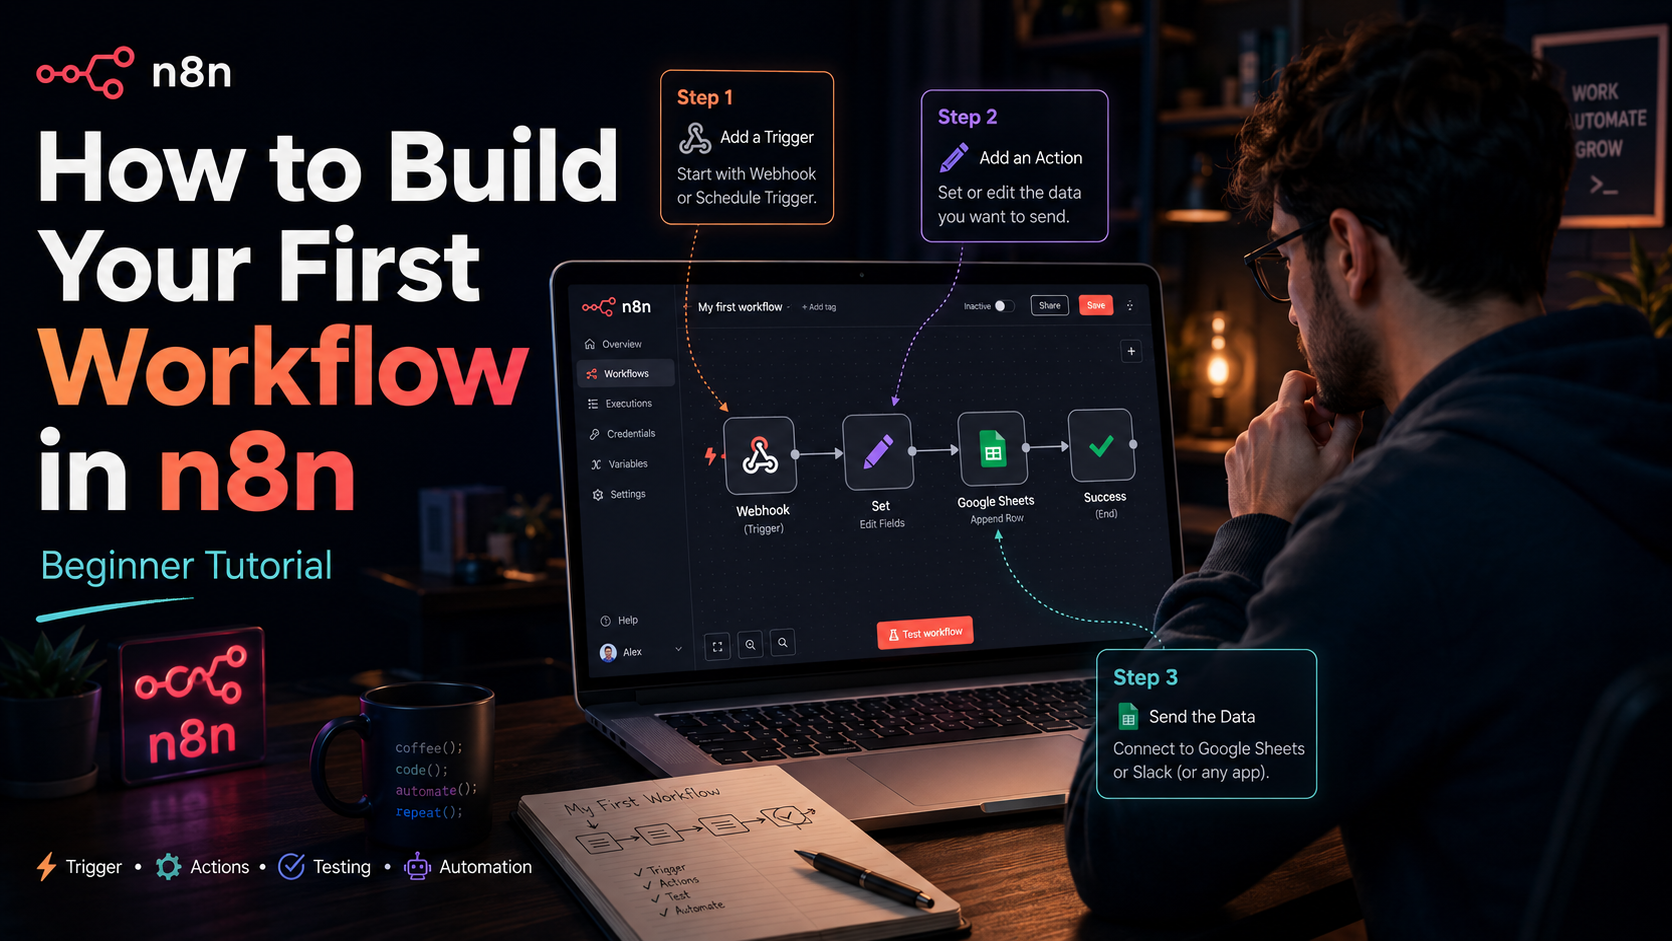
TL;DR: This tutorial walks you through building a complete, useful n8n workflow from scratch — no prior experience required. By the end you’ll have a working automation that fetches data on a schedule, processes it with conditional logic, and sends results to two destinations. The whole thing takes about 30 minutes and uses only the free tier. We’ll explain every concept the first time it appears, show you the exact buttons to click, and flag the gotchas that trip up beginners.
Table of Contents
- Why n8n is a great first automation tool
- Core concepts: nodes, triggers, executions
- Step 1: Set up n8n (Cloud or self-hosted)
- Step 2: Plan the workflow we’ll build
- Step 3: Add a Schedule trigger
- Step 4: Fetch data with the HTTP Request node
- Step 5: Process data with the Edit Fields node
- Step 6: Add conditional logic with the If node
- Step 7: Add action nodes (email and Slack)
- Step 8: Test and publish your workflow
- Common beginner mistakes
- What to build next
- FAQ
Why n8n is a great first automation tool
If you’re new to workflow automation, n8n hits a sweet spot most other tools miss. The visual flowchart builder makes it obvious how data flows between steps, the free tier is generous enough to build real workflows, and the open-source self-hosted option means you’ll never get priced out as your needs grow. The learning curve is steeper than Zapier — but once you understand five core concepts, you’ll build automations that would be impossible or expensive on simpler tools.
Not sure yet whether n8n is the right tool? Our guide on Zapier alternatives including n8n covers the trade-offs.
Core concepts: nodes, triggers, executions
Before we touch the editor, internalize five terms. They’ll save you hours of confusion:
- Workflow — a collection of nodes connected together to automate a process. One workflow = one automation.
- Node — a single step in a workflow. Each node does one thing: receive a trigger, fetch data, transform it, send it somewhere.
- Trigger node — the first node in a workflow. It decides when the workflow runs (on a schedule, when a webhook fires, when a new email arrives, etc.).
- Execution — one full run of a workflow from trigger to last node. n8n logs every execution so you can debug what happened.
- Expression — a small piece of JavaScript-like code that lets you reference data from previous nodes, written in
{{ }}brackets. We’ll use these later.
Almost every confusing moment in n8n traces back to one of these concepts. If something isn’t working, ask yourself: which node is failing, what data is it receiving, and what is it trying to do with that data?
Step 1: Set up n8n (Cloud or self-hosted)
You have two ways to get started:
- n8n Cloud — sign up at n8n.io, free 14-day trial, no credit card. After the trial, paid plans start at €24/month for 2,500 executions. Best path for first-time users — zero setup, just open the editor and start building.
- Self-hosted — free forever, run on your own server with Docker. Requires basic Linux comfort. We have a complete n8n self-hosting guide with production-grade configuration.
For this tutorial, we’ll assume n8n Cloud — but every step works identically on a self-hosted instance. After signing up and confirming your email, you’ll land on the Overview page. Click Create Workflow in the upper-right corner. You’ll see an empty canvas with a single button: Add first step. That’s where we begin.
Step 2: Plan the workflow we’ll build
Before clicking anything, plan the workflow on paper or in your head. This 60-second habit prevents 80% of beginner mistakes:
Our workflow: Every weekday at 9:00 AM, fetch the current Bitcoin price from a public API. If the price is above $100,000, send a celebration email. If below, send a Slack notification with the current price. Real, useful, and uses every concept a beginner should learn.
Visual structure of what we’re building:
Schedule (every weekday 9 AM)
        ↓
HTTP Request (fetch BTC price)
        ↓
Edit Fields (extract price as number)
        ↓
   If (price > 100,000?)
   ┌────┴────┐
   true     false
    ↓         ↓
  Email    Slack
(celebrate) (notify)
Six nodes, two branches, one schedule. Let’s build it.
Step 3: Add a Schedule trigger
- Click Add first step on the empty canvas.
- In the search box, type
Scheduleand select the Schedule Trigger node. - Set Trigger Interval to
Days. - Set Days Between Triggers to
1. - Set Trigger at Hour to
9am. - Optionally: under Trigger on Weekdays, select Monday through Friday only.
- Close the node settings panel by clicking the X in the top-right.
You now have a trigger node on the canvas. It’ll show a green checkmark once you publish the workflow — for now, it’s inactive. Important detail: a Schedule trigger only fires when the workflow is published. While building, you’ll run the workflow manually with the Execute Workflow button at the bottom of the canvas.
Step 4: Fetch data with the HTTP Request node
The HTTP Request node is the most powerful tool in n8n — it lets you call any public API, even ones without a dedicated n8n integration. We’ll use the free CoinGecko API to fetch the current Bitcoin price.
- Click the + connector on the right side of the Schedule trigger.
- Search for
HTTP Requestand select it. - In URL, paste:
https://api.coingecko.com/api/v3/simple/price?ids=bitcoin&vs_currencies=usd - Leave Authentication as
None(this API doesn’t require it). - Leave Method as
GET. - Click Execute step at the bottom of the node panel.
You should see output on the right side, something like { "bitcoin": { "usd": 105432 } }. That’s the live BTC price returned as JSON. Close the node — we’ll use this data in the next step.
Pro tip: the Execute step button runs only that node with sample data, without firing the entire workflow. This is your most-used button while debugging. It’s also where you’ll catch most mistakes — if a node fails when you click Execute step, fix it before adding more nodes downstream.
Step 5: Process data with the Edit Fields node
The CoinGecko response has the price nested inside bitcoin.usd. To use it cleanly in later steps, let’s extract it into a top-level field called price.
- Click the + connector on the HTTP Request node.
- Search for
Edit Fields(it might also appear as “Set”). Select it. - Under Fields to Set, click Add Field.
- For Name, type
price. - For Value, switch to expression mode (toggle the
=icon to red=). - Drag
bitcoin.usdfrom the left panel into the value field. The expression will look like{{ $json.bitcoin.usd }}. - Click Execute step to verify the output now contains
{ "price": 105432 }.
Expressions are how n8n references data from previous nodes. Anything inside {{ }} is evaluated as JavaScript. $json means “the data the previous node returned.” You don’t need to memorize syntax — just drag fields from the left panel into expression-mode inputs and n8n writes the expression for you.
Step 6: Add conditional logic with the If node
The If node creates two branches based on a condition. We’ll send to one path if BTC is above $100k, another if below.
- Click the + connector on the Edit Fields node.
- Search for
Ifand select the If node. - Under Conditions:
- Value 1: drag
pricefrom the left panel (results in{{ $json.price }}). - Operation: select
Number > Larger. - Value 2: type
100000.
- Value 1: drag
- Click Execute step to verify the condition evaluates correctly.
The If node now shows two output connectors: true (top) and false (bottom). Whichever path matches gets the data. Common gotcha: make sure Operation is set to Number, not String — otherwise "100000" compared as text gives wrong results.
Step 7: Add action nodes (email and Slack)
Now the destinations. We’ll add two action nodes — one on each branch.
Email on the “true” branch
- Click the + connector labeled true on the If node.
- Search for
Send Emailand select Send Email. - Click Create new credential and configure SMTP — Gmail requires an app-specific password, most ESPs work with standard SMTP creds.
- Set To Email to your address.
- Set Subject to
BTC just hit $100k! - Set Text to (use expression mode):
BTC is currently at ${{ $json.price }} — celebration time! - Click Execute step to send a test email.
Slack on the “false” branch
- Go back to the canvas. Click the + connector labeled false on the If node.
- Search for
Slackand select Slack. - Click Create new credential and follow the OAuth2 flow to connect your Slack workspace.
- Set Resource to
Message, Operation toSend. - Pick a channel from the dropdown (e.g.,
#general). - Set Text to (expression mode):
BTC is at ${{ $json.price }} — still under $100k. - Click Execute step to send a test message.
If both test sends worked, the workflow is functionally complete. Save it now — Cmd/Ctrl + S, or click the Save button at the top right. Don’t skip this. n8n won’t auto-save while you’re building.
Step 8: Test and publish your workflow
Two final steps separate “it kinda works” from “it actually runs reliably.”
Run the full workflow once manually
Click Execute Workflow at the bottom of the canvas. This runs every node in sequence with live data. Watch each node turn green as it succeeds (or red if it fails). If anything fails, click the failed node — n8n shows the exact error message and which input data caused it.
Publish the workflow
The workflow won’t run on schedule until you publish it. Click the Publish toggle at the top of the editor — it should switch to active. Now the Schedule trigger will fire every weekday at 9 AM and the entire flow will run automatically.
To verify it actually fires, go to Executions in the left sidebar. After 9 AM tomorrow, you should see a fresh execution logged. Click any execution to see what data flowed through each node — this is invaluable for debugging.
Common beginner mistakes
- Forgetting to publish — the most common reason “the schedule isn’t firing.” If the toggle isn’t switched to Published, the trigger is dormant.
- String vs Number comparisons in If nodes — comparing
"5" > "10"as strings returns true (alphabetic order). Always pick the right type for your data. - Hardcoding values that should be expressions — typing the literal text
$json.priceinto a regular field doesn’t work. You need to enable expression mode (toggle the=icon) for n8n to evaluate it. - Polling APIs every minute — for self-hosted, this is fine. For n8n Cloud, every poll counts as an execution. A 1-minute schedule = 43,200 executions/month, more than entry plan limits.
- Not testing each node individually — clicking Execute step on every new node before connecting the next one prevents 80% of debugging pain.
- Skipping credentials backup — if you self-host and lose your encryption key, every saved credential becomes unrecoverable. Back up the encryption key the moment you set it.
What to build next
You now know how to build, test, and publish a real workflow. Three productive next steps:
- Replace the Schedule trigger with a Webhook trigger to react to events from external systems. New to webhooks? Read our webhook primer including testing.
- Add error handling — append a “Send Email on Error” node that fires when any step fails. Without this, silent failures will burn you eventually.
- Build something for your actual workflow — pick one repetitive task you do every week (compiling stats, posting reports, syncing data) and rebuild it as an n8n workflow. The fastest way to learn is to solve a real problem.
If you’re comparing n8n with other automation platforms before committing more time, our Zapier vs Make 2026 comparison covers the trade-offs across hosted alternatives.
FAQ
Do I need to know JavaScript to use n8n?
No. The visual editor handles 80% of typical use cases without code. Expressions in {{ }} are JavaScript-flavored, but you mostly drag-and-drop fields rather than write expressions from scratch. For advanced cases, basic JavaScript helps — but you can build a useful workflow without writing a line of code.
Should I start with n8n Cloud or self-hosted?
Start with n8n Cloud while learning. The 14-day free trial is enough to build several workflows. After the trial, evaluate whether you’d benefit from self-hosting — typically the case if you’re running 10+ workflows or hit cost concerns. Cloud removes infrastructure variables while you’re learning the platform itself.
What if my workflow fails after I publish it?
Open Executions in the left sidebar. Failed executions are marked in red. Click any failed execution to see exactly which node failed and the error message. Most failures are credential issues, API rate limits, or unexpected data shapes. Re-run after fixing using the retry option.
How many workflows can I run on the free tier?
n8n Cloud’s trial gives you 14 days of unrestricted access. After the trial, paid plans start at €24/month for 2,500 executions. Self-hosted is unlimited — your only limit is your server’s resources.
Can I share workflows with my team?
Yes. n8n supports exporting workflows as JSON files. On paid Cloud and self-hosted plans, you can also use Projects to share workflows with team members in a shared workspace with role-based permissions.
What’s the most useful first workflow to build for a small business?
The pattern that pays back fastest: form submission → CRM record → notification. New lead fills out a form, data lands in CRM with proper tagging, your team gets notified instantly. Eliminates manual data entry, reduces lead response time from hours to seconds, uses every concept from this tutorial.