
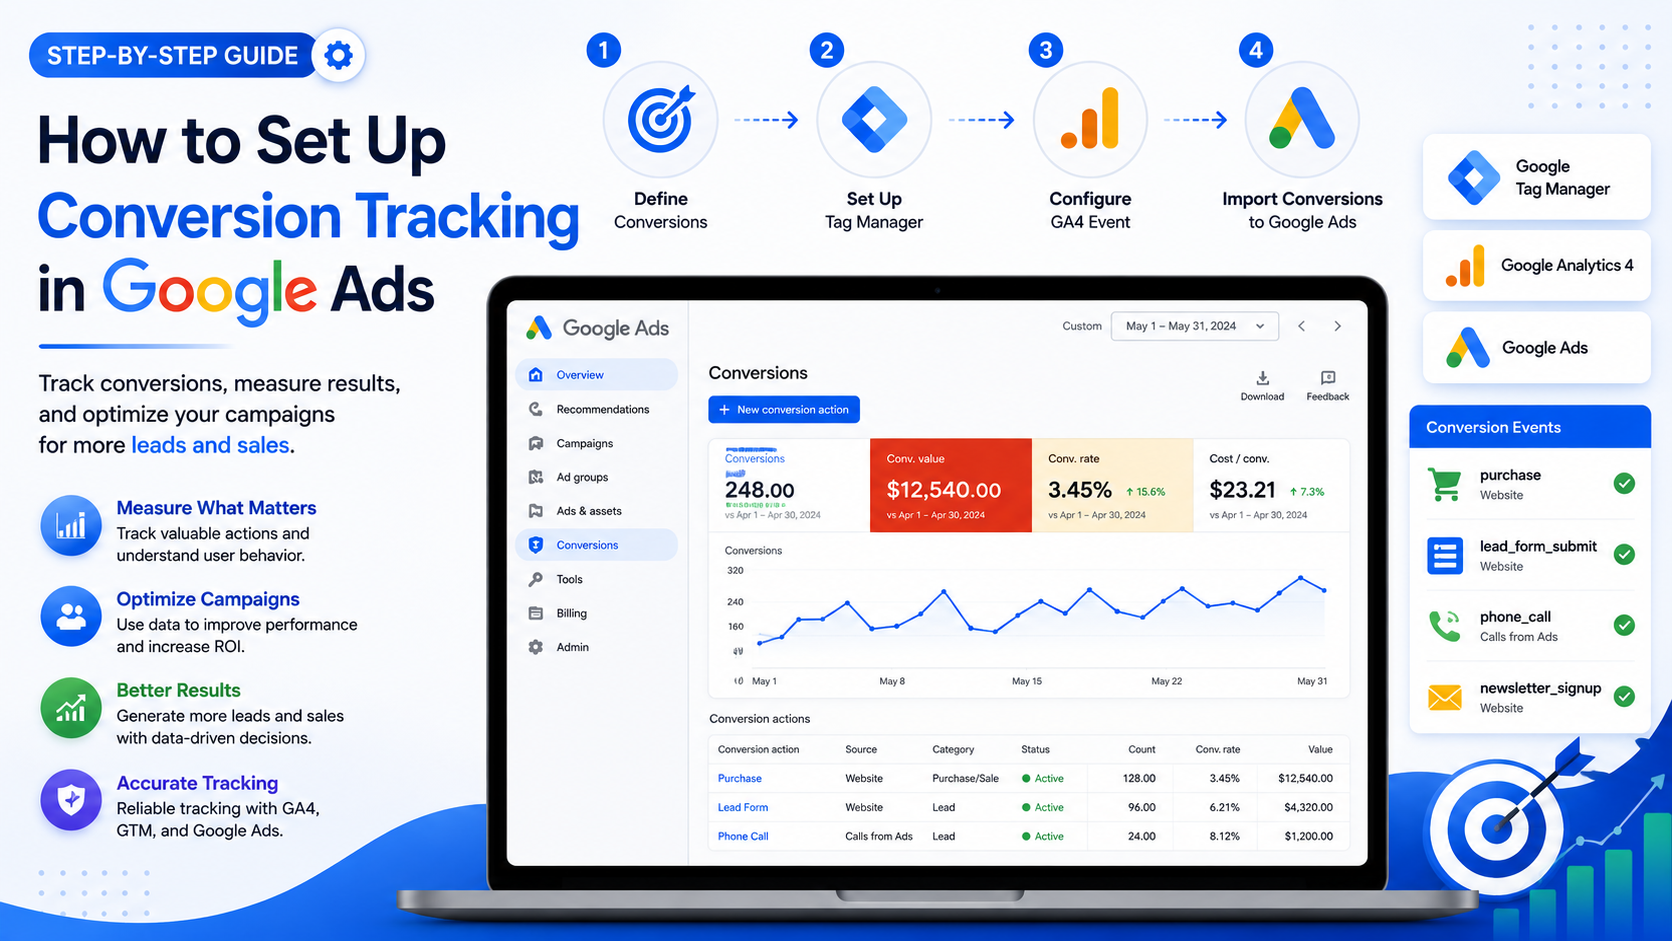
Conversion tracking is the one setup task that determines whether every other Google Ads decision — bidding, budget, keyword targeting — is based on real signal or guesswork. This guide is for SMB marketers and founders running their own Google Ads account who need a current, correct 2026 setup: which tracking method to choose, how to enable Enhanced Conversions, and how to stay compliant if you serve EEA or UK traffic. No agency jargon, just the exact steps and the reasoning behind each one.
Quick Answer: How to Set Up Conversion Tracking
Create a conversion action in Google Ads under Goals → Conversions → New, deploy the tag through Google Tag Manager (not hardcoded), and enable Enhanced Conversions immediately — Google’s own data shows a 5-17% lift in reported conversions. Use the native Google Ads tag for primary bidding signals; treat GA4 Key Events imports as a secondary, not primary, source.
Two Ways to Track Conversions: Native Tag vs GA4 Key Events Import
Before touching GTM, decide which measurement path you’re on, because mixing them without understanding the tradeoff is the single most common setup mistake we see.
| Method | Native Google Ads Tag | GA4 Key Events Import |
|---|---|---|
| Setup location | Google Ads → Goals → Conversions | GA4 → link to Ads, mark event as Key Event |
| Reporting delay | Usually within 24 hours | 6-24 hours, sometimes longer |
| Attribution model | Google Ads data-driven attribution | GA4’s own attribution model |
| Enhanced Conversions support | Full, native | Limited |
| Best used for | Primary bidding signal | Secondary measurement, diagnostics |
GA4 renamed “Conversions” to “Key Events” back in March 2024, and it’s easy to assume importing them into Google Ads is equivalent to native tracking. It isn’t. GA4 imports run on GA4’s own attribution model and typically arrive with a longer delay, so Smart Bidding is working with staler, differently-weighted data. Use the native Google Ads conversion tag for whatever action drives your bidding, and keep GA4 as your analysis and diagnostics layer — the same principle we cover in our GA4 basic setup guide.
Step-by-Step: Creating a Conversion Action
- In Google Ads, go to Goals → Conversions → + New conversion action.
- Choose the source: Website, App, Phone calls, or Import (for offline/CRM data).
- Name the action clearly — “Purchase,” “Lead Form Submit,” “Phone Call 60s+” — not “Conversion 1.”
- Set the value: a fixed value for consistent-value actions, or “Use different values for each conversion” for e-commerce carrying real order totals.
- Set the count setting to “One” for leads and signups, “Every” for purchases where each transaction matters.
- Choose your conversion window — 7 days for impulse purchases, 30 for considered purchases, up to 90 days for B2B sales cycles.
- Set the attribution model to data-driven (Google’s default and recommended choice for most accounts in 2026).
- Deploy the resulting Event Snippet via Google Tag Manager, triggered on the confirmation or thank-you page — not the form page itself.
If your team is already managing tags through GTM for GA4 ecommerce event tracking, add the Google Ads Conversion tag as a parallel tag firing on the same trigger — no need to duplicate the trigger logic.
Enhanced Conversions: Setup and Why It Matters
Enhanced Conversions hashes first-party data your customer already gave you — email, phone, name — using SHA-256, then matches it against signed-in Google accounts to recover conversions that cookies and ad blockers would otherwise hide. Google’s published case studies show a 5-17% average lift in reported conversion volume once enabled. To turn it on: in your conversion action’s data sources panel, select “Conversions” and enable “Turn on enhanced conversions” under Customer data use. In GTM, use manual configuration (not automatic detection) for the User-Provided Data fields, mapping email and phone variables explicitly from your dataLayer — automatic detection carries a higher compliance risk since it scrapes form fields without an explicit mapping.
Note an important 2026 deadline: starting June 15, 2026, offline conversion imports and Enhanced Conversions for leads uploads migrate to Google’s Data Manager API and are blocked from the older Google Ads API. If you built a custom integration for offline conversion uploads before this date, confirm it’s been updated — this is the kind of silent breakage that shows a green checkmark in the dashboard while quietly stopping data.
Consent Mode v2 and EEA/UK Compliance
Consent Mode v2 has been mandatory for advertisers serving EEA and UK users since March 2024, and it’s not optional if you have any European traffic. The mechanism: when a visitor denies consent, Google tags don’t just switch off — they send anonymous “cookieless pings” that Google uses to model the conversions it can’t directly observe, recovering a meaningful share of otherwise-lost data. Your cookie consent banner needs to push the four required parameters — ad_storage, ad_user_data, ad_personalization, analytics_storage — to the dataLayer before any Google tag fires, with a default state of “denied” until the visitor actively consents. If you’re managing this through server-side tracking, consent state has to be communicated on both the client and server sides — server-side alone does not exempt you from consent requirements.
Server-Side Tracking for Higher Accuracy
Server-side Google Tag Manager sends conversion data from your own infrastructure instead of the visitor’s browser, bypassing ad blockers, Safari’s Intelligent Tracking Prevention, and JavaScript failures entirely. Teams running it report recovering an additional 8-15% of conversions on iOS-heavy traffic, plus faster page loads since fewer client-side scripts are running. It’s not free — you’re paying for a hosting container (commonly $20-100/month depending on traffic volume) and it needs proper setup to avoid becoming just another point of failure. As a rule of thumb: if you’re spending under $10,000/month on Google Ads, client-side tracking with Enhanced Conversions is usually accurate enough. Above that, or if you’re seeing a real gap between platform-reported conversions and actual sales, server-side pays for itself quickly.
Offline Conversion Imports for Lead-Gen Businesses
For B2B or high-consideration businesses, the form submission isn’t the outcome that matters — the closed deal 30 to 90 days later is. Offline conversion imports close that loop: capture the GCLID (Google Click ID) at form submission and store it alongside the lead record in your CRM, then upload it back to Google Ads once the deal closes, with a real dollar value attached. This lets Smart Bidding optimize toward leads that actually become customers, not just leads that fill out a form. Combine this with a solid UTM tracking setup so every lead in your CRM carries clean source data alongside its GCLID.
Choosing the Right Attribution Model
Data-driven attribution (DDA) is Google’s default and the right choice for roughly 90% of accounts in 2026. Instead of crediting 100% of a conversion to the last click — the old “last-click” model, which systematically over-credits branded search and under-credits upper-funnel awareness campaigns — DDA uses machine learning to distribute credit across every touchpoint in the path based on your account’s actual conversion patterns. You can review or change the attribution model per conversion action under Tools and Settings → Conversions → select the action → Edit settings. The only common reason to override DDA is a genuinely low-volume account (under roughly 300 conversions in the last 30 days), where the model doesn’t have enough data to learn from and defaults to a simpler rules-based fallback automatically — in that case there’s nothing to configure differently, Google handles the fallback for you.
One thing worth flagging for teams running both Google Ads and Meta campaigns: attribution models don’t talk to each other across platforms. If you’re also tracking conversions for Facebook or Instagram campaigns, check our Meta Pixel vs Conversions API comparison — the two platforms will often report overlapping conversions with different credit assigned, and reconciling that against your actual revenue (not either platform’s self-reported number) is the only way to know your real blended CAC.
How to Verify Your Setup Is Working
- Check Goals → Conversions → Summary for a green checkmark; a yellow warning means the tag fired but hasn’t recorded a conversion yet — wait 24-48 hours before troubleshooting further.
- Use GTM Preview mode to walk through a full test conversion and confirm the Conversion Linker, Google Ads Conversion tag, and GA4 Config tag all fire in the correct order on the correct page.
- Open the DevTools Network tab and check for
gcs=G100before consent is granted, confirming Consent Mode defaults are actually being respected pre-consent. - Cross-check reported conversion counts against your CRM or order system monthly — a persistent mismatch usually points to duplicate firing or a broken trigger, not a Google Ads bug.
We ran this exact audit on a mid-size SaaS account and found the Conversion Linker tag was missing from one landing page template — a silent gap that had been under-reporting form-fill conversions by roughly 12% for three months, invisible in the dashboard because the tag that was firing still showed a green checkmark.
Common Mistakes That Break Conversion Tracking
- Multiple primary conversions competing for bidding credit — counting both “form submit” and “purchase” as primary in the same campaign confuses Smart Bidding about what to optimize for.
- Low-value micro-conversions set as primary — page views or newsletter signups pulling bidding attention away from actual revenue-generating actions.
- Conversion value left at a flat $1 — Target ROAS can’t prioritize high-value customers if every conversion looks identical.
- Duplicate firing on page refresh — the thank-you page firing a second conversion when a user hits refresh or the back button.
- Cross-domain tracking gaps — a separate checkout domain breaking the click ID chain, so purchases get attributed as direct traffic instead of paid.
Frequently Asked Questions
How long does it take for conversions to show up in Google Ads?
Typically within 24 hours for standard conversions, though cross-device and view-through conversions can take up to 3 days to fully process. Test conversions triggered via Tag Assistant often appear faster in the “Recent Conversions” column under Goals → Conversions → Summary.
Should I use the native Google Ads tag or import from GA4?
Use the native Google Ads conversion tag for your primary bidding signal. GA4 Key Events imports run on a different attribution model with longer reporting delays, which gives Smart Bidding a weaker, staler signal to optimize against.
Is Enhanced Conversions mandatory?
Not mandatory, but strongly recommended for any account with EEA/UK traffic or spending over roughly $1,000/month. Google’s own data shows a 5-17% lift in reported conversions once it’s correctly configured.
Do I need Consent Mode v2 if I only advertise in the US?
It’s not legally required for US-only advertisers as of 2026, but several states (California, Colorado, Virginia, Connecticut, and others) have privacy laws creating similar data-handling obligations, and Consent Mode’s conversion modeling improves tracking accuracy regardless of jurisdiction.
What changed with offline conversion imports in June 2026?
Starting June 15, 2026, offline conversion imports and Enhanced Conversions for leads uploads moved to Google’s Data Manager API and were blocked from the older Google Ads API. Any custom integration built before that date needs to be checked to confirm it still delivers data.
Is server-side tracking worth it for a small business?
Usually not below roughly $10,000/month in ad spend — client-side tracking with Enhanced Conversions enabled is accurate enough at that scale. Above that threshold, or if you’re seeing a persistent gap between platform-reported and actual sales, the 8-15% additional recovered conversions typically justify the hosting cost.